The Secret to a Sparkling Sink Using Just Two Ingredients
Imagine walking into your kitchen after a long day, only to see a sink full of stubborn stains and grime from last night’s dinner. Don’t worry—I’ve got a simple fix for you. With just two everyday ingredients, you can transform that dull sink into a sparkling centerpiece. Stick with me to uncover this easy, eco-friendly method that’ll save you time and money. Curious? Let’s explore this together.
Key Takeaways
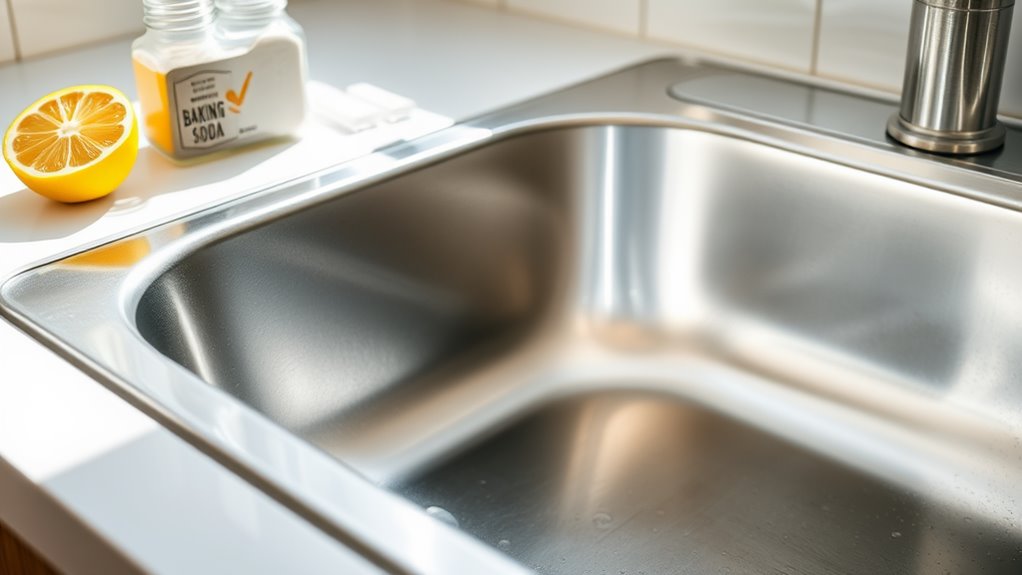
- Use baking soda and white vinegar for a sparkling sink with just two ingredients.
- Sprinkle baking soda over the sink, then pour vinegar to trigger a fizzing reaction.
- Let the mixture sit for a few minutes to break down grime and stains.
- Scrub gently with a soft sponge, focusing on tough spots for thorough cleaning.
- Rinse with warm water and wipe dry for a gleaming, spot-free finish.
Unveiling the Two Key Components
Let’s dive into the two key components that make a sparkling sink possible.
You’re about to discover a simple sink cleaning hack that transforms your kitchen centerpiece with minimal effort.
First, grab baking soda—its abrasive nature tackles stubborn stains and grease effectively.
Sprinkle a generous layer over the sink’s surface to start breaking down grime.
Second, use white vinegar, a natural disinfectant.
Pour it over the baking soda to create a fizzing reaction that lifts dirt effortlessly.
Together, these ingredients cut through mess, leaving your sink gleaming without harsh chemicals or expensive products.
This eco-friendly method ensures a sparkling kitchen sink every time with ease.
Try it today!
Preparing Your Cleaning Area
Before you start cleaning, make sure you’ve cleared the sink area by removing dishes, utensils, and any clutter to create a spacious workspace.
Gather all your necessary tools, like sponges, scrub brushes, cleaning solutions, and gloves, so you’re ready to tackle the task without interruptions.
Don’t forget to protect surrounding surfaces by laying down old towels or cloths to catch drips and prevent damage to countertops or cabinets.
For an even better result, try an effortless sink shine hack that combines household items to rejuvenate your sink effortlessly.
Clear Sink Area
Start by clearing out the sink area to create a clutter-free workspace.
Remove any dishes, utensils, or debris sitting in or around the sink. Don’t leave anything that could get in your way.
Check under the sink for stray items like sponges or rags that might clutter the space. Toss out old food scraps or wrappers if they’re lingering.
Wipe down the surrounding counter quickly to ensure no crumbs or spills interfere. A clean, open area helps you focus and prevents messes from spreading. Keep it simple and organized so you’re ready for the next steps.
Gather Necessary Tools
Now that you’ve cleared the sink area, it’s time to round up the tools you’ll need to get that sink sparkling.
Having everything ready ensures a smooth, efficient cleaning process.
Grab these essentials to tackle the grime and achieve a spotless finish.
Here’s what you’ll need:
1. A Soft Sponge or Cloth – Use this to scrub without scratching the sink’s surface.
2. A Small Bucket or Bowl – Handy for mixing your cleaning solution.
3. A Pair of Gloves – Protect your hands from any harsh residue.
With these tools, you’re set to start cleaning effectively!
Protect Surrounding Surfaces
Take a moment to shield the areas around your sink from potential splashes or cleaning solution spills.
Grab old towels or rags and lay them over nearby countertops and backsplashes.
If you’ve got a sink mat or plastic sheet, place it on the floor to catch drips.
Make sure any items like dishes or utensils are moved away to avoid contamination.
Check that electronics or sensitive materials are out of reach.
Mixing the Magic Solution
Let’s get started on mixing the magic solution by gathering your essential items like baking soda, vinegar, and a measuring cup.
Make sure you’re measuring accurate proportions—use one cup of baking soda to two cups of vinegar for the perfect fizzing reaction.
Blend these together in a bowl for the best results, stirring gently until you’ve got a consistent mix ready to tackle sink grime.
This simple mixture can transform your sink with effective sink shine tips that ensure a pristine look with minimal effort.
Gather Essential Items
Grab everything you’ll need to create the magic solution for a sparkling sink.
Before you start, make sure you’ve got the right supplies handy to whip up this cleaning wonder.
Head to your kitchen or storage area and collect the essentials for a spotless result.
Here’s what you’ll need to gather:
- Baking Soda – A common household staple with powerful cleaning properties.
- White Vinegar – An acidic liquid that breaks down grime effectively.
- A Small Bowl – Useful for holding your ingredients before mixing.
With these items ready, you’re set to transform your sink!
Measure Accurate Proportions
Before you dive into cleaning, ensure you’ve got the right balance of ingredients for your magic solution.
Grab a small bowl and measure out one cup of baking soda.
This acts as your base for scrubbing grime.
Next, add a quarter cup of hydrogen peroxide—don’t overdo it, as too much can be harsh on surfaces.
Use a measuring cup or spoon for precision; eyeballing won’t cut it.
These proportions ensure the mix is effective yet safe for your sink.
Double-check your measurements to avoid waste or damage, setting yourself up for a sparkling result with minimal effort.
Blend for Best Results
How can you ensure your cleaning solution works like a charm?
It’s all about blending those two ingredients—baking soda and vinegar—perfectly.
Grab a small bowl, and let’s mix the magic solution with precision for that sparkling sink.
Follow these steps to nail the blend:
- Pour Slowly: Add vinegar to baking soda gradually to control the fizzing reaction.
- Stir Gently: Use a spoon to mix until you’ve got a consistent paste.
- Apply Immediately: Don’t wait—use the mixture while it’s active for maximum cleaning power.
You’ll see the grime vanish with this potent combo!
Applying the Blend for Best Results
Wondering about the best way to apply the blend for a sparkling sink?
Grab a soft sponge or cloth and scoop up a small amount of your prepared mixture.
Spread it evenly across the sink’s surface, focusing on areas with visible grime or water spots.
Work in small sections to ensure full coverage.
Use gentle, circular motions to distribute the blend without damaging the finish.
Let it sit for a few minutes to penetrate buildup.
Make sure you’ve coated every corner, including around the drain and faucet base, for a consistent shine across the entire sink.
Try this as part of a nighttime cleaning routine to wake up to a spotless sink every morning.
Scrubbing Away Stubborn Stains
Ever tackled those pesky, stubborn stains in your sink that just won’t budge?
Don’t worry, you’ve got this with the right approach.
After applying the two-ingredient blend, grab a non-abrasive sponge or scrub pad to target those tough spots.
Here’s how to scrub effectively:
- Focus on Stains: Concentrate on discolored areas, using small circular motions for deep cleaning.
- Apply Pressure: Press firmly but gently to avoid scratching the sink’s surface.
- Work in Sections: Tackle one area at a time for thorough results.
Keep scrubbing until the stains lift, revealing a cleaner sink. You’re almost there!
This method also works wonders for toilet cleaning paste, making bathroom maintenance a breeze.
Rinsing and Revealing the Shine
After scrubbing away those stubborn stains, it’s time to rinse your sink and bring out that dazzling shine. Grab your hose or faucet, and rinse thoroughly with warm water to wash away residue from the cleaning mix. Make sure you cover every corner, removing any leftover grime. For an added touch, try a rinse hack with a spot-free solution to ensure a flawless finish with spot-free dishes.
Check out this quick guide for rinsing success:
| Step | Action |
|---|---|
| 1. Water Temp | Use warm water for best results |
| 2. Coverage | Rinse all areas evenly |
| 3. Check Corners | Don’t miss hidden spots |
| 4. Wipe Excess | Use a cloth for stray water |
| 5. Dry | Buff with a dry towel for shine |
Finally, dry it off to reveal a gleaming sink!