Use This DIY Spray for Smudgeless Mirrors Every Time
To achieve smudge-free mirrors every time, mix equal parts distilled water and white vinegar in a spray bottle, adding a few drops of dish soap for extra cleaning power. Shake gently to combine, and spray the solution from 6-12 inches away. Use a microfiber cloth in a sweeping motion for even coverage, allowing 1-2 minutes of drying time before buffing with a dry cloth. Want to learn more about maintaining those sparkling mirrors?
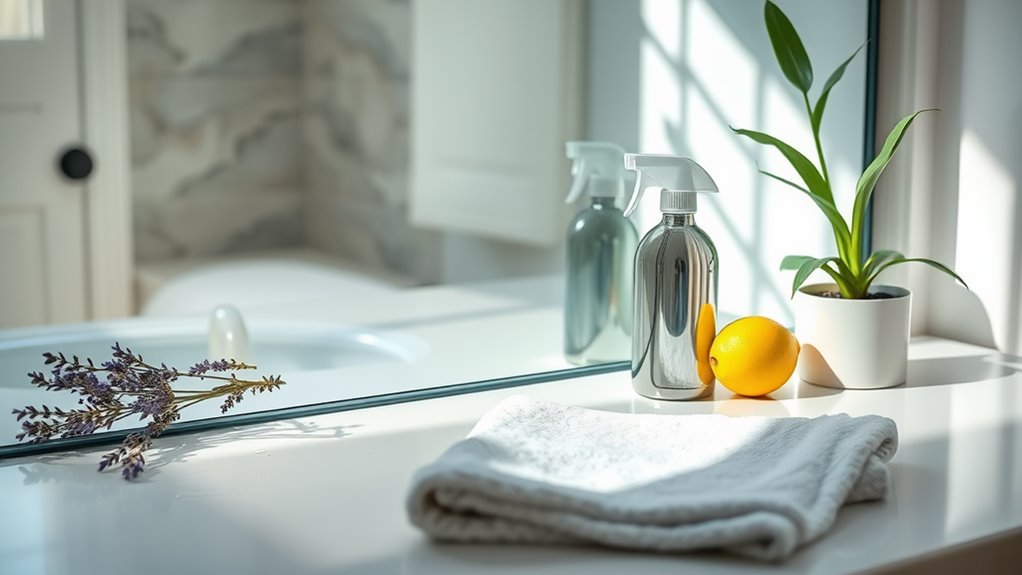
Essential Ingredients for the DIY Spray
To create an effective DIY spray for smudgeless mirrors, you’ll need just a few essential ingredients that are likely already in your home.
Start with equal parts water and white vinegar for a natural base.
Add a few drops of dish soap to enhance cleaning power.
These simple ingredients will help you achieve a smudge-free mirror, leaving your reflective surfaces sparkling clean and clear. Additionally, using a microfiber cloth can help ensure a streak-free shine, making your cleaning routine even more efficient.
Step-by-Step Instructions for Making the Spray
Get ready to whip up your own smudgeless mirror spray with ease!
Combine equal parts distilled water and white vinegar in a spray bottle.
Add a few drops of dish soap for extra cleaning power.
Shake gently to mix.
Your DIY spray is now ready to use! It’s simple, cost-effective, and will leave your mirrors sparkling clean without any streaks. Additionally, using a vinegar-based solution can help break down grime more effectively than traditional cleaners.
Tips for Applying the Spray Effectively
Once you’ve mixed your DIY spray, applying it correctly will make all the difference in achieving that perfect, smudgeless finish. Here are some tips:
| Step | Tips |
|---|---|
| 1. Spray Distance | Maintain 6-12 inches |
| 2. Even Coverage | Use a sweeping motion |
| 3. Cloth Choice | Microfiber works best |
| 4. Drying Time | Allow 1-2 minutes |
| 5. Final Wipe | Buff with a dry cloth |
For best results, ensure that your mirrors are clean and dry before application to utilize the mirror no-streak method.
Best Practices for Maintaining Smudgeless Mirrors
To keep your mirrors smudge-free, establish a regular cleaning schedule that fits your routine. Invest in high-quality tools, like microfiber cloths and gentle cleaners, to make the task easier and more effective. Finally, use proper cleaning techniques to make sure you’re not just moving dirt around but truly maintaining that sparkling clarity. Additionally, using high-quality tools can significantly enhance your cleaning results by reducing streaks and improving shine.
Regular Cleaning Schedule
Regularly maintaining your mirrors can make a significant difference in keeping them smudge-free and sparkling.
Set a cleaning schedule, ideally once a week, to prevent buildup.
Use your DIY spray and a microfiber cloth for the best results.
Don’t forget to check for spots or streaks during your routine; addressing them promptly keeps your mirrors looking flawless all the time.
Use High-Quality Tools
Choosing high-quality tools is essential for maintaining smudgeless mirrors.
Invest in a microfiber cloth for effective dirt removal without scratching.
A good squeegee helps eliminate streaks, while a reliable spray bottle guarantees even application of your DIY cleaner.
Using these tools not only enhances your cleaning routine but also keeps your mirrors looking pristine, making your space feel brighter and more inviting.
Proper Cleaning Techniques
While it might seem simple, using the right techniques when cleaning your mirrors can make all the difference in achieving a streak-free shine.
Start by spraying your DIY solution onto a microfiber cloth instead of the mirror itself.
Wipe in a circular motion, then finish with vertical strokes.
Rinse your cloth frequently to avoid spreading dirt, and always dry the edges to prevent water spots.
Troubleshooting Common Issues
Even with the best intentions, you might run into a few common issues while using your DIY spray.
If you’re seeing streaks after cleaning, dealing with persistent fogging, or applying the spray incorrectly, don’t worry—you can easily fix these problems. One effective solution to prevent fogging is to use a simple hack for fog-free mirrors, which can help maintain clarity over time.
Let’s tackle these challenges so you can enjoy crystal-clear mirrors every time!
Streaks After Cleaning
Have you ever cleaned your mirrors only to find unsightly streaks lingering behind?
This common issue often arises from using too much cleaner or improper cloths.
To fix it, try a microfiber cloth with your DIY spray and wipe in a circular motion.
Always dry the surface immediately after cleaning to prevent streaks, ensuring your mirrors shine flawlessly every time.
Persistent Fogging Issues
If you’ve ever stepped out of a hot shower only to find your mirror fogged up, you’re not alone.
This persistent issue often stems from humidity levels in your bathroom.
To combat this, try using your DIY spray before showering.
Additionally, running an exhaust fan or leaving the bathroom door slightly ajar can help reduce fogging, ensuring a clearer mirror every time.
Incorrect Spray Application
How can you guarantee that your DIY spray effectively prevents mirror fogging?
First, apply the spray evenly across the entire mirror surface.
Avoid over-saturating, as too much product can lead to streaks.
Let it dry completely before use; this allows the ingredients to bond properly.
If fog persists, check your application technique and adjust for a more consistent coat during your next attempt.
Additional Uses for the DIY Spray
Wondering what else you can do with your DIY spray besides keeping your mirrors smudge-free?
You can use it on glass surfaces, like windows and shower doors, to repel grime.
It also works wonders on stainless steel appliances, leaving them streak-free.
Plus, try it on car windows for improved visibility.
This versatile spray makes cleaning a breeze throughout your home!