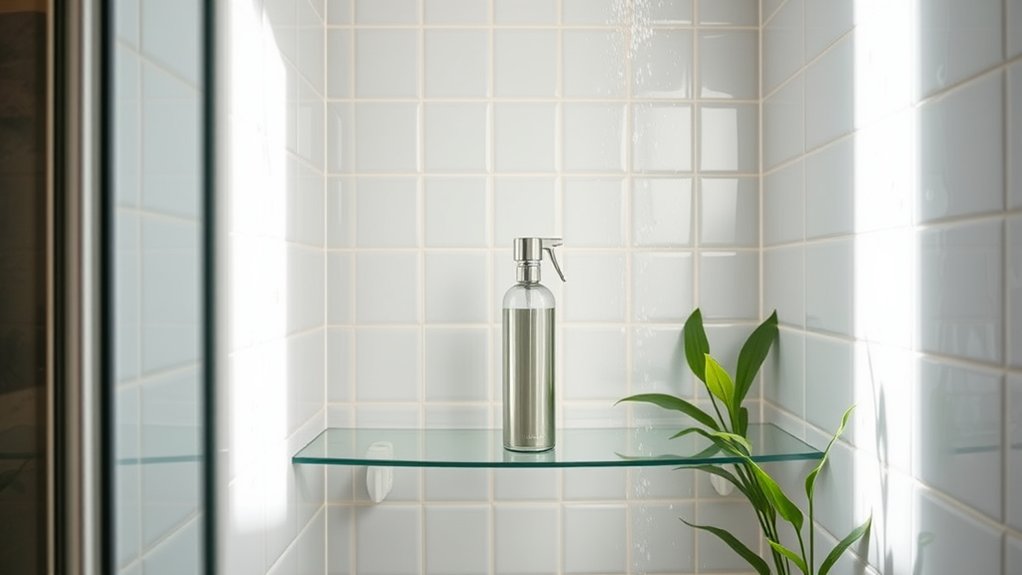
This One Spray Keeps My Shower Clean All Week
Keeping your shower clean can feel like a never-ending chore. But what if there was an easy solution? One simple spray can make all the difference, allowing you to maintain a sparkling clean space with minimal effort. The beauty lies in its simplicity—the right ingredients can effectively combat soap scum and mildew. Curious about how to whip up this game-changing spray? Let’s explore the ingredients and steps needed to transform your cleaning routine.
The Importance of a Clean Shower
A sparkling clean shower isn’t just about aesthetics; it’s crucial for your health and well-being. When you step into a dirty shower, you’re exposing your skin to bacteria, mold, and mildew, which can lead to skin irritations or respiratory issues.
A clean shower supports good hygiene, allowing you to enjoy your baths fully without worrying about germs. One helpful shower spray tip is to use a daily spray after each use. This keeps the surfaces fresh and minimizes buildup, making deep cleaning easier.
Ingredients That Make This Spray Effective
The right ingredients can make all the difference in an effective shower cleaning spray.
Look for ingredients like vinegar, which naturally cuts through soap scum and mineral deposits.
Baking soda adds gentle abrasion to tackle tough stains without scratching surfaces.
Citric acid can also help dissolve hard water buildup, giving your shower a fresh shine.
You’ll want a few drops of dish soap too, as it helps break down grime and make cleanup easier.
Essential oils, like tea tree or eucalyptus, not only provide a pleasant scent but also have antibacterial properties.
How to Make Your Own Shower Spray
Creating your own shower spray is easier than you might think, especially when you have the right ingredients on hand.
Start by grabbing a clean spray bottle, preferably 16 ounces. Mix equal parts of white vinegar and water; this combo cuts through soap scum and hard water stains effectively.
For an added fresh scent, you can include about 10-15 drops of your favorite essential oil, like lemon or lavender. This makes the spray pleasant to use and adds a bit of aromatherapy to your cleaning routine.
Once mixed, shake the bottle gently to combine the ingredients. Your homemade shower spray is ready!
Keep it in your bathroom for quick use after each shower to maintain a sparkling clean space.
Tips for Application
When applying your homemade shower cleaning spray, make sure to target areas with the most soap scum and mineral buildup first.
Focus on corners, grout lines, and the showerhead, as these spots often attract the toughest grime. Spray generously and let it sit for a few minutes to break down the residue effectively.
Use a microfiber cloth or scrub brush to agitate the spray, ensuring you lift stubborn stains. Rinse well with warm water after scrubbing to remove all cleaning solution and debris.
Don’t forget to ventilate the area; open a window or turn on the fan to keep the air fresh.
Lastly, keep your spray bottle handy for quick touch-ups after your shower to maintain that fresh look!
How Often to Use the Spray
Regularly using your shower cleaning spray can significantly reduce buildup and make maintenance easier.
To keep your shower looking its best, follow these guidelines for frequency:
-
Daily Use: After each shower, give a light spray to maintain cleanliness and prevent soap scum and mildew buildup.
-
Weekly Deep Clean: Set aside time once a week for a thorough clean with the spray. Wipe down all surfaces to eliminate any stubborn residue.
-
Monthly Check-In: After a month, assess areas that may need a bit more attention, like grout or caulking, and adjust your usage as necessary.
Additional Cleaning Hacks for Your Shower
Maintaining a clean shower doesn’t have to be a daunting task. Try using a squeegee after each shower; it takes only a minute but helps prevent water spots and buildup.
You can also mix equal parts vinegar and water in a spray bottle for a quick, effective cleaner. Spray it on the tiles and fixtures, let it sit for a few minutes, then wipe it down for a sparkling finish.
If you’re battling soap scum, baking soda works wonders—sprinkle it on surfaces, scrub, and rinse.
Finally, keep a scrub brush handy during your shower for quick touch-ups. These simple tweaks can keep your shower looking fresh, making cleaning less of a chore in the long run.
Real-Life Results: My Experience With the Spray
After using the shower cleaning spray consistently for a month, I can confidently say it transformed my cleaning routine. You’ll notice fewer stains and less scrubbing time, making your cleaning days much more manageable.
Here are three standout results I’ve experienced:
-
Squeaky Clean Surface: The spray prevents soap scum and mildew buildup, keeping your tiles shiny.
-
Easier Maintenance: A quick spray after each shower saves you time and effort; just rinse it off and you’re done!
-
Fresh Fragrance: The pleasant scent makes your bathroom feel welcoming without being overpowering.
You won’t believe the difference a simple spray can make, turning a dreaded chore into a quick, easy task that keeps your shower looking great!
Conclusion
With this simple spray, you can keep your shower looking fresh all week long. The mix of vinegar, water, and essential oils not only prevents buildup but also makes daily maintenance a breeze. By incorporating this routine into your post-shower habit, you’ll create a space that’s clean, inviting, and enjoyable. So why wait? Start making your own shower spray today and experience the difference for yourself. A cleaner shower is just a few sprays away!

